How to create a Windows installation USB
Published: Jan 16, 2025
Last updated: Jan 27, 2025
Introduction
In this guide I'm going to show how to create a bootable Windows installation USB. This Windows installation USB can be used to clean install Windows on a computer, run an in-place upgrade (more info on that here: How to run an in-place upgrade), and access other Windows tools. This method works with both Windows 10 and Windows 11.You will need a USB flash drive. For this tutorial I used a SanDisk Ultra USB 3.0 Flash Drive, which can be found on Amazon.*
Media Creation Tool
You'll first need to download Windows Media Creation Tool.Windows Media Creation Tool links:
Windows 10: https://www.microsoft.com/en-us/software-download/windows10
Windows 11: https://www.microsoft.com/en-us/software-download/windows11
Once downloaded, run MediaCreationTool.exe
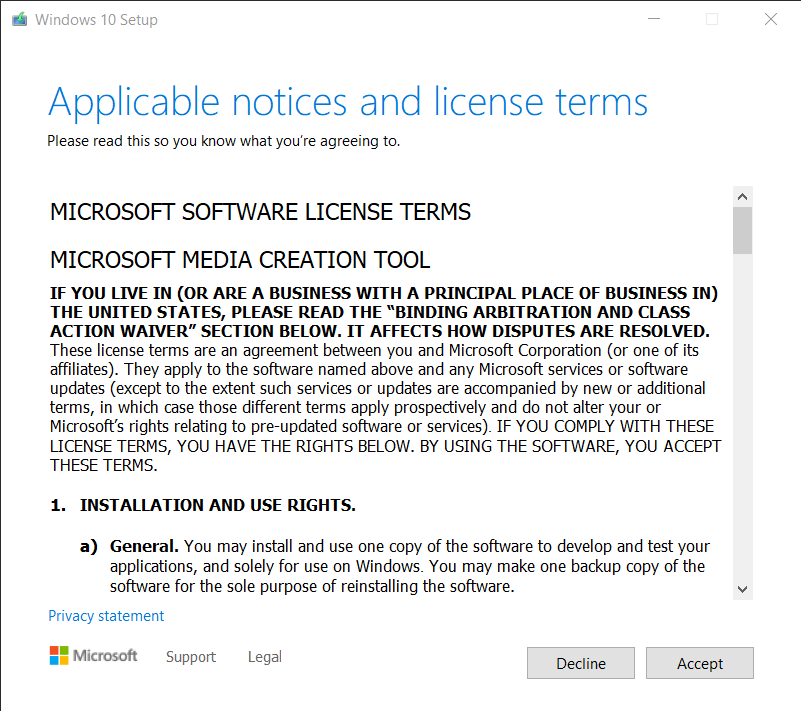
Accept EULA
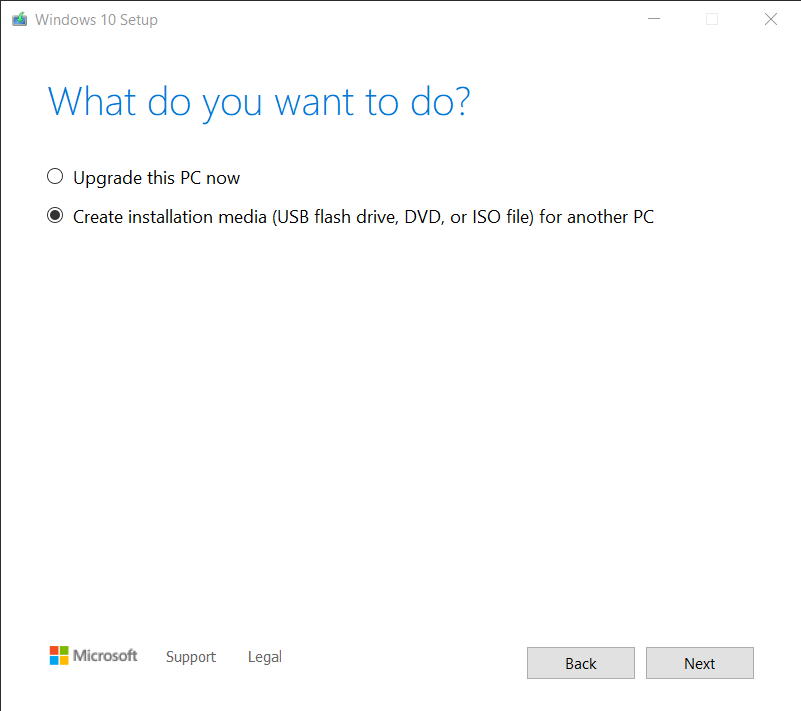
Select Create installation media (USB flash drive, DVD, or ISO file) for another PC
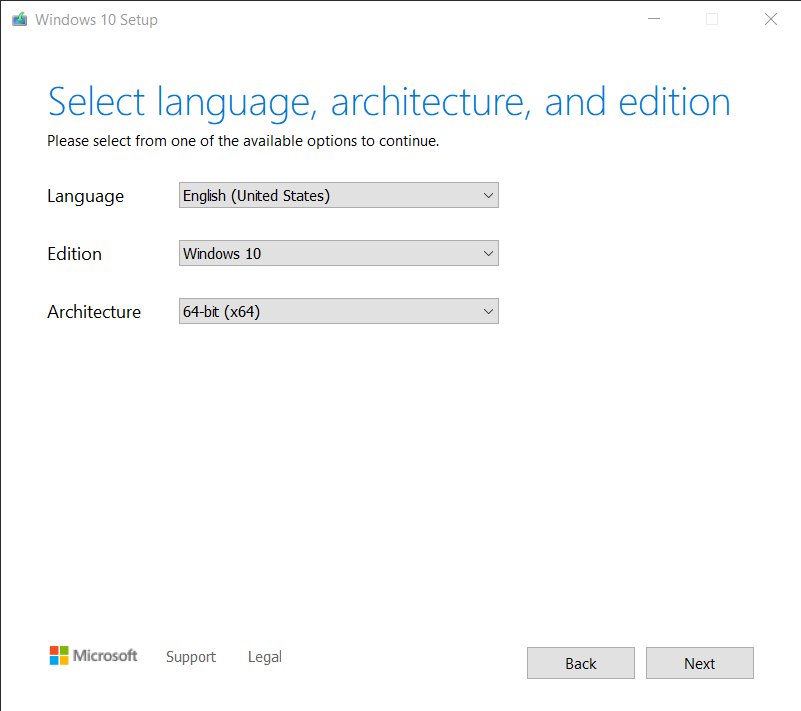
Choose Language, Edition, and Architecture. By default it should select what is best for your computer, for reference this is what I choose.
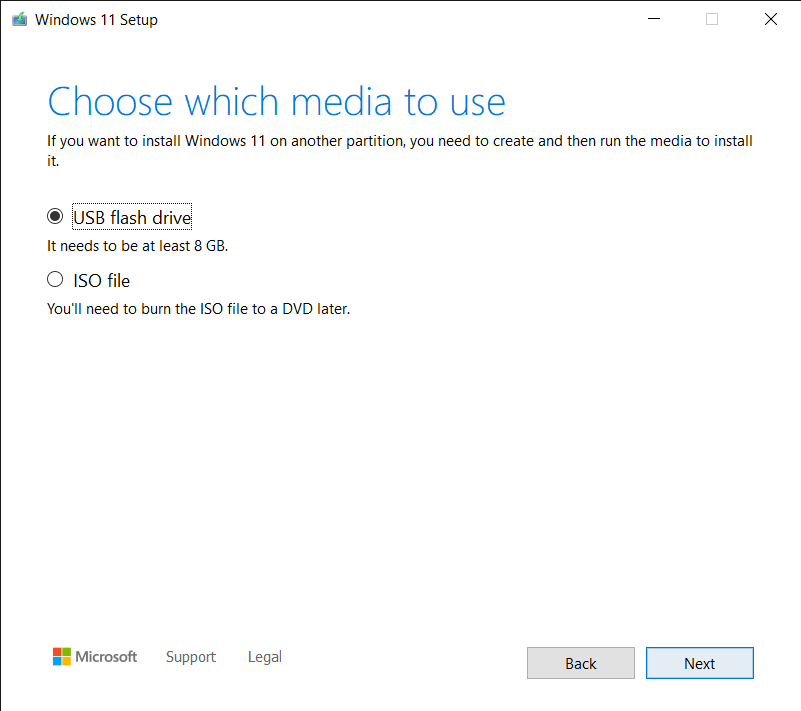
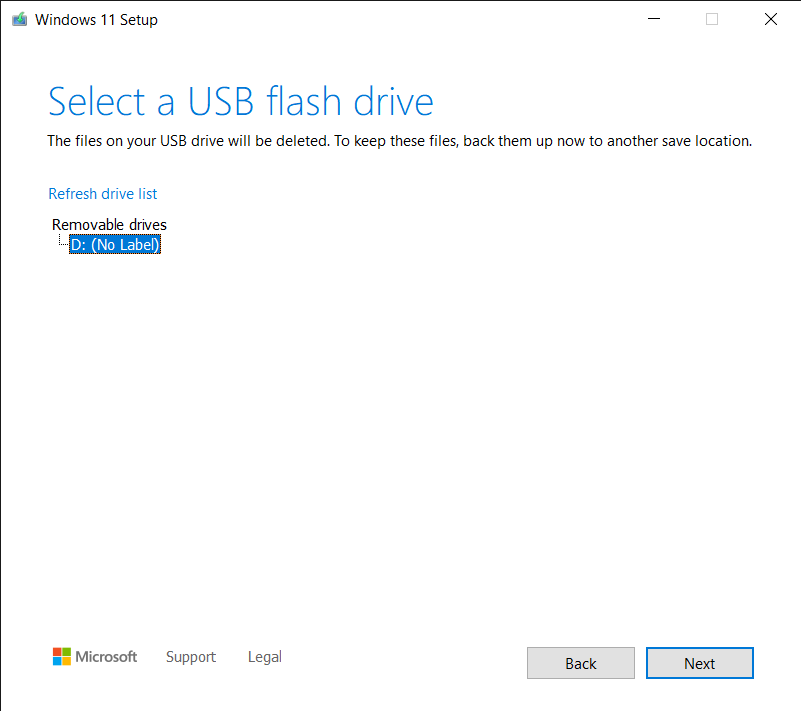
Select USB flash drive
Choose which USB you would like to use.
Please note that data on the chosen USB will be erased! You have been warned, techtips is not liable for data loss.
Once you have your USB highlighted, select Next
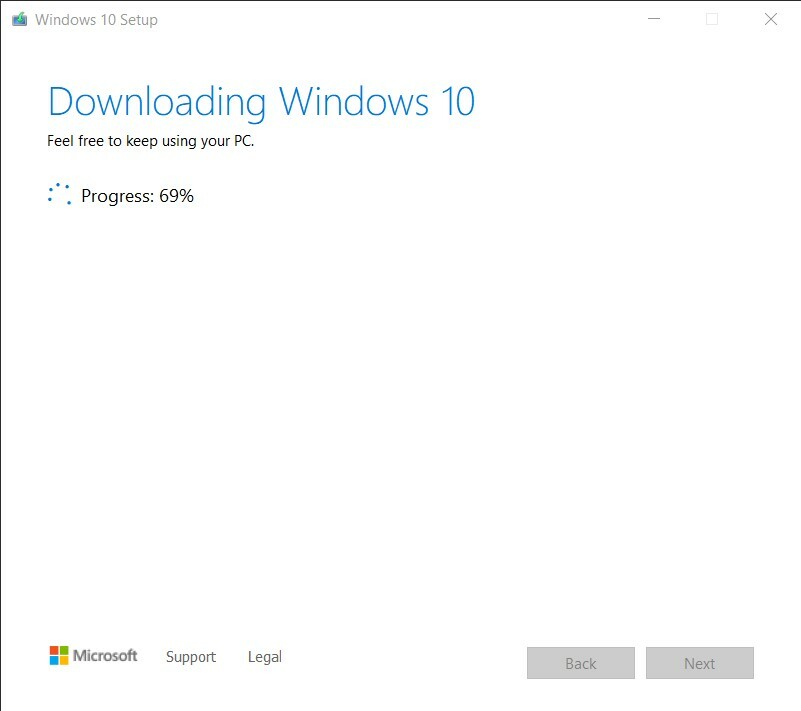
Windows Media Creation Tool will download Windows and flash it to your USB. This step can take a while, perhaps consider stepping away to grab a snack or do some breathing exercises.
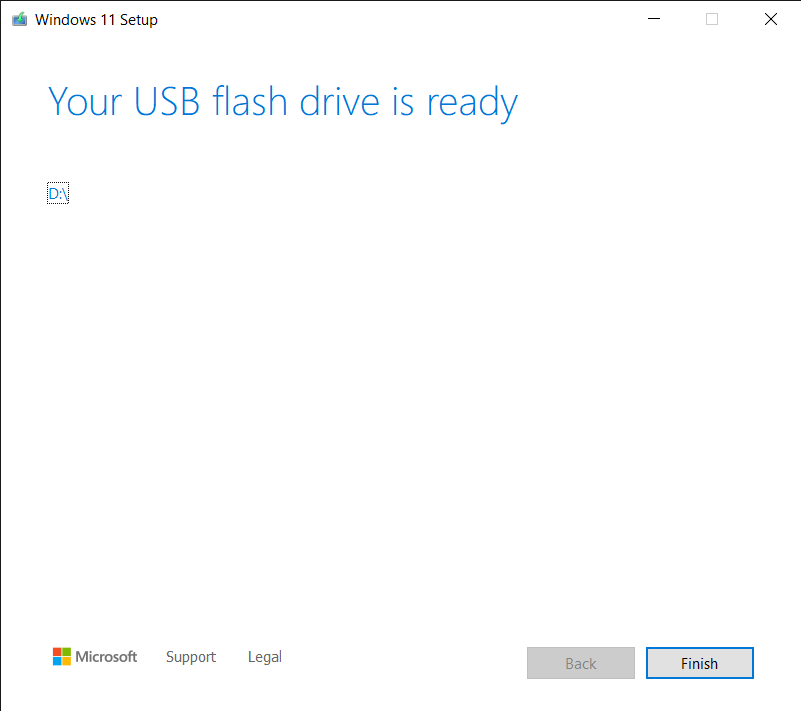
Select Finish.
TL;DR
Plug in USB, run MediaCreationTool, follow prompts for creating USB.Additional notes
* Amazon Associate notice! *As an Amazon Associate I earn from qualifying purchases.
For this tutorial I used a SanDisk Ultra USB 3.0 Flash Drive, which can be found on Amazon.