How to wipe data with ShredOS
Published: June 17, 2026
Last updated: June 17, 2026
Introduction
The objective of this guide is to walk you through how to use ShredOS for data sanitization. You may be asking, "what is ShredOS?" ShredOS is a custom Linux distro designed for the purpose of data sanitization and/or DESTRUCTION!A great feature about ShredOS is that it can also create a PDF certificate of data removal; may be handy if you're trying to beat a case.
Disclaimer: TechTips is NOT liable for data loss as a result of this guide. This guide is purley for informational purposes, proceed at your own risk.
Preparation
Please note, this guide requires basic knowledge of how to flash an ISO file to a USB. I may write a guide on that in the future, for now an Internet search is your best reference.A ShredOS ISO file can be downloaded from the official ShredOS website. Flash the ISO to a USB drive, for that I recommend BalenaEtcher or Rufus.
You'll need to boot into your computer's BIOS and disable Secure Boot. Additionally, if you are wiping a Windows computer, disable BitLocker prior to wipe.
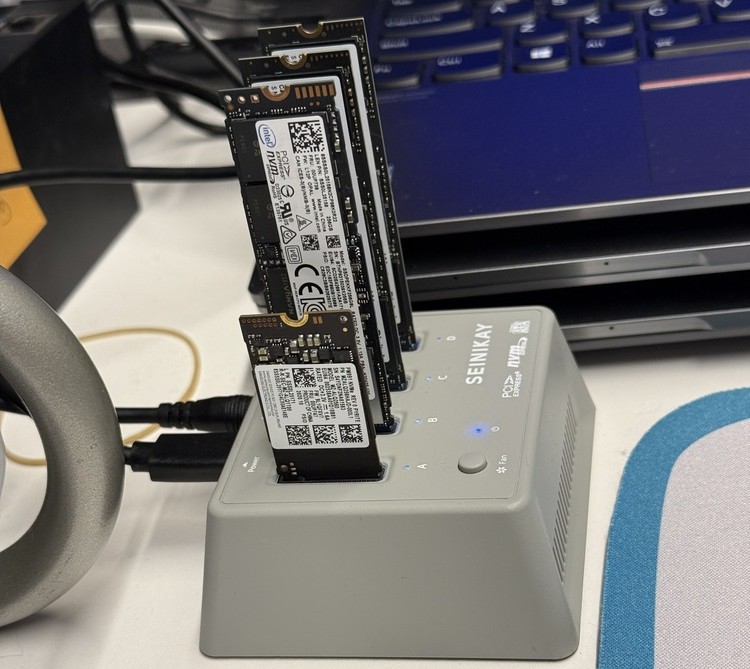
Pro tip: ShredOS works with USB sleds/docks. This can be helpful if you're trying to wipe multiple drives at once.
Utilizing ShredOS
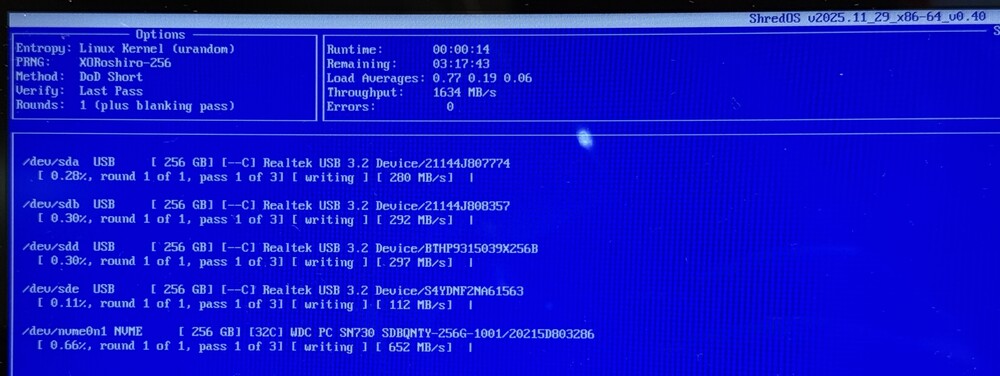
Boot into your newly flashed ShredOS USB. Once fully booted up, you should see a blue screen that lists all your drives.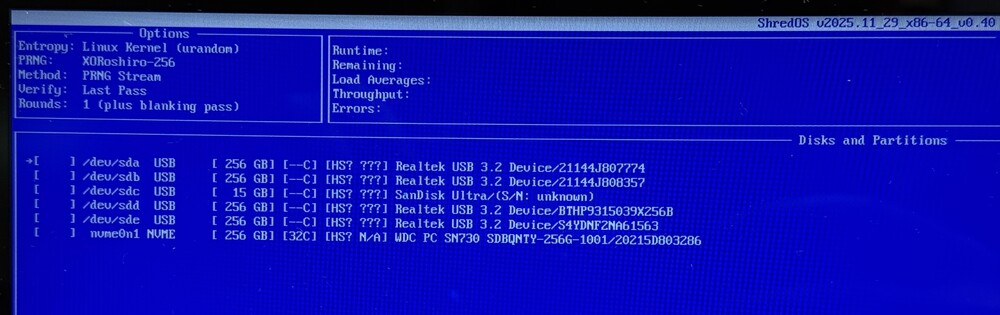
Click the M key to view wipe methods. Using the arrow keys you can cycle through the methods. I recommend at minimum use DoD Short, this will be the quickest viable method; I have tested with an off-the-shelf data recovery software called DiskDrill (you know we like DiskDrill here at TechTips) and was unable to recover data after using DoD Short. Once you have selected your desired wipe method, click the Space key to lock it in, this will take you back to the drive selection screen.
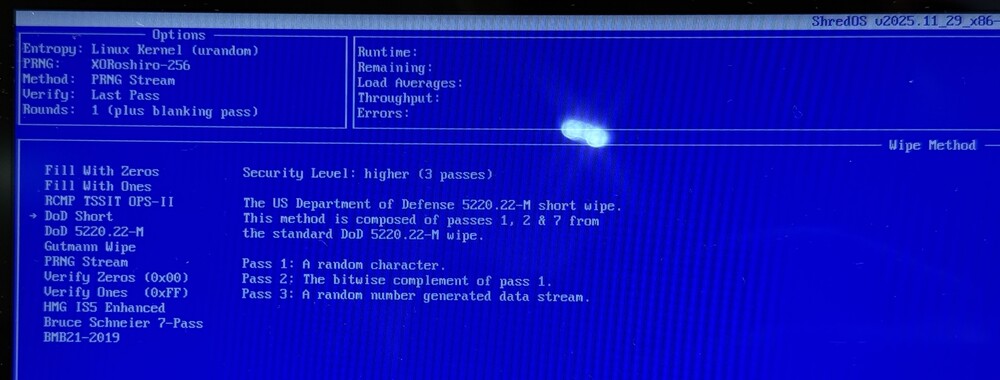
I highly recommend putting in your due dilligence if you want to understand the nuances of the various wipe methods. For general purposes DoD short should be sufficient, I trust you know your situation and requirements best.
Using the arrow keys you can cycle through the listed drives, click the Space key to select a drive for wipe.
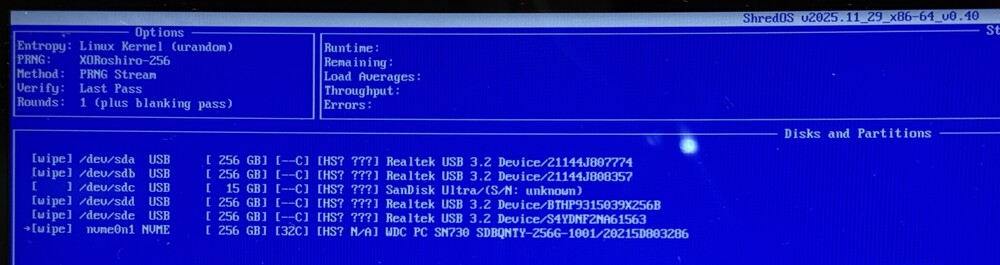
Once you have your drives selected, click Shift + S (uppercase S) to start the wipe process. FINAL WARNING: DATA WILL BE REMOVED!

ShredOS will display the wipe progress on screen. Please note, the time to completion is dependent on the drive's transfer/read/write speeds; in my testing DoD Short typically takes up to 1-2 hours.
Here's the result of my wipe. Unfortunately, two of the wipes errored out. If that happens I recommend giving it another try. If you continue to experience repeat errors, I'd recommend just smashing the drive with a hammer/blunt object (in the event that you're worried about data security).
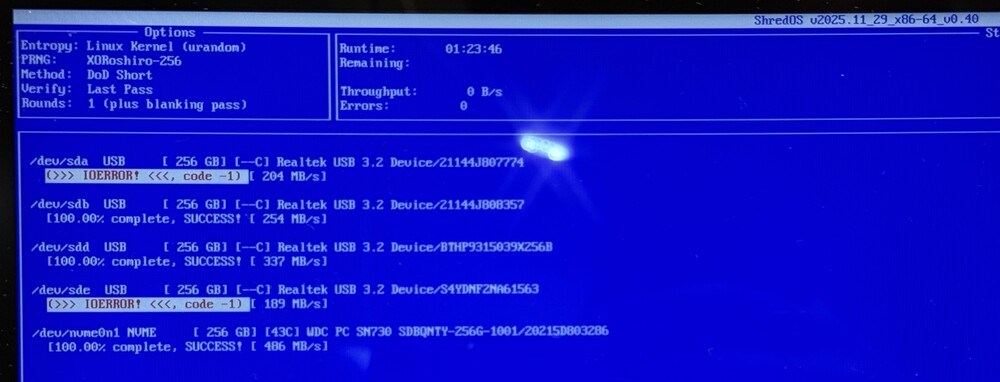
On this same results screen at the bottom, it will read "Wipe finished." Press Enter to create PDF certificates and exit ShredOS.

Viewing certificates
To view the certificate generated by ShredOS, plug the USB into your computer.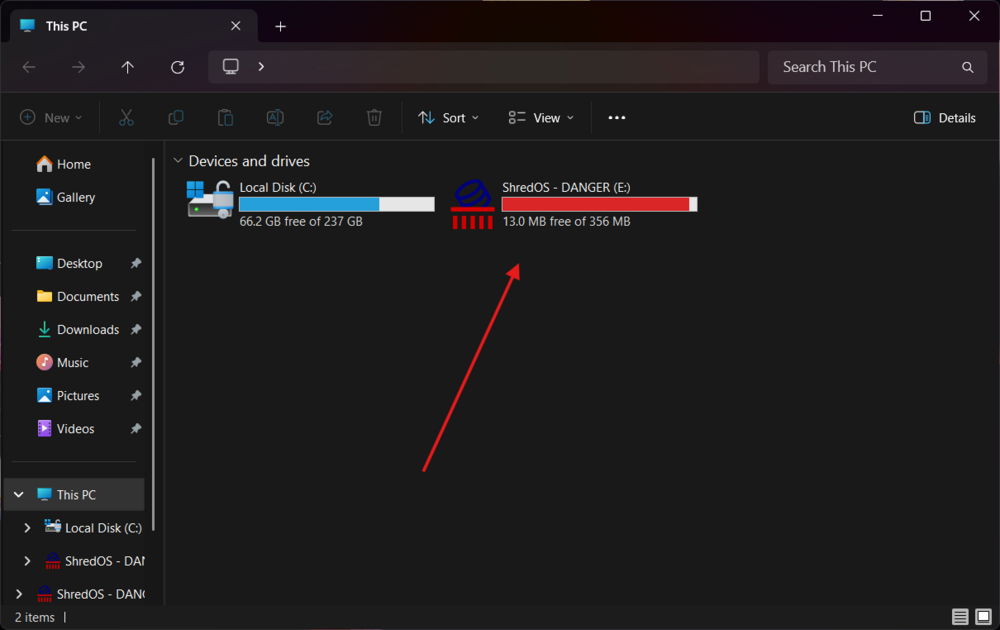
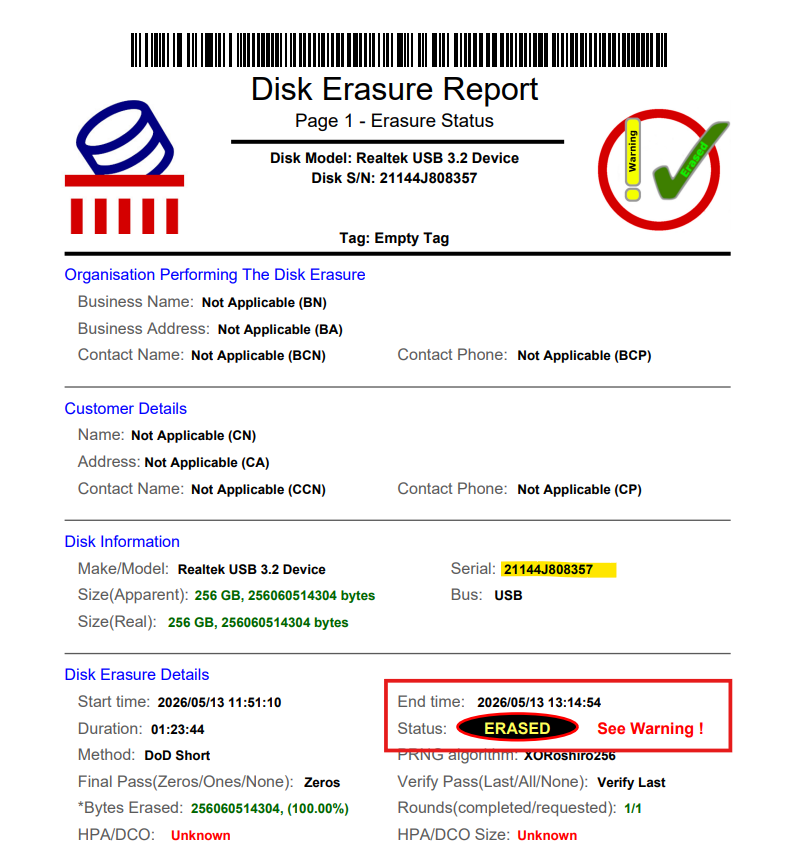
The certificate will be titled nwipe_report_year-month-date_modelnumber_serialnumber.PDF. Please note, for drives that are docked in the drive sled, the model will appear as "Realtek USB 3.2" (or similar generic name), however the serial number will still be true to the drive. The USB will also contain log files for the wipe.
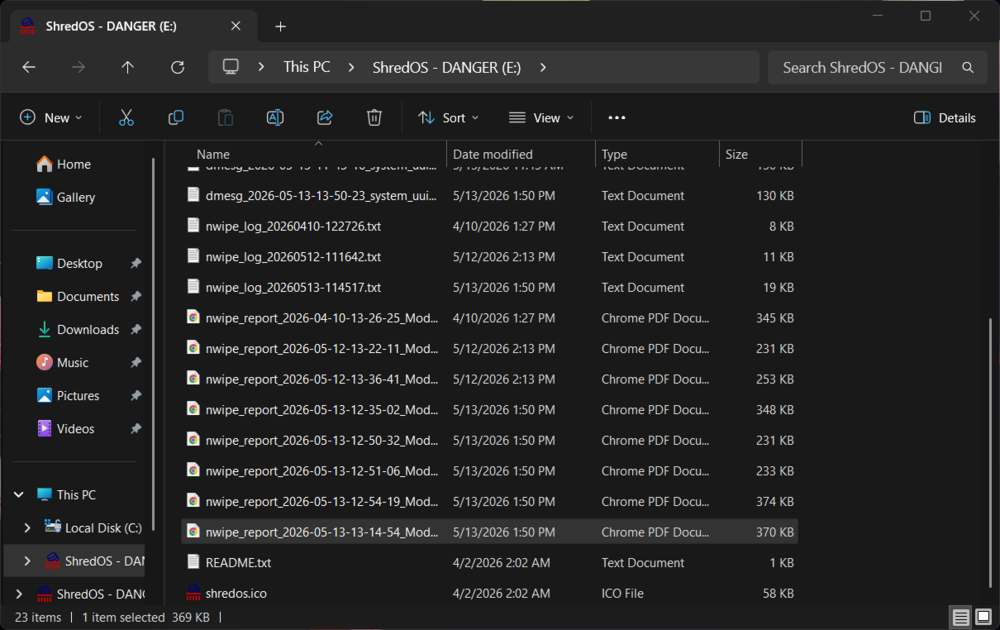
Here is an example of what the certificate looks like.
References:
- Real life experience
- ShredOS website
- A brief Internet Search